Finish Bill
(Explanation of the icons from left to right)
1. 3 horizontal lines - Main Menu
2. Arrow pointing left - Return to the order screen
Picture - (1)
3. % icon - discount table. The discount you enter will apply to the whole bill.
Picture - (2)
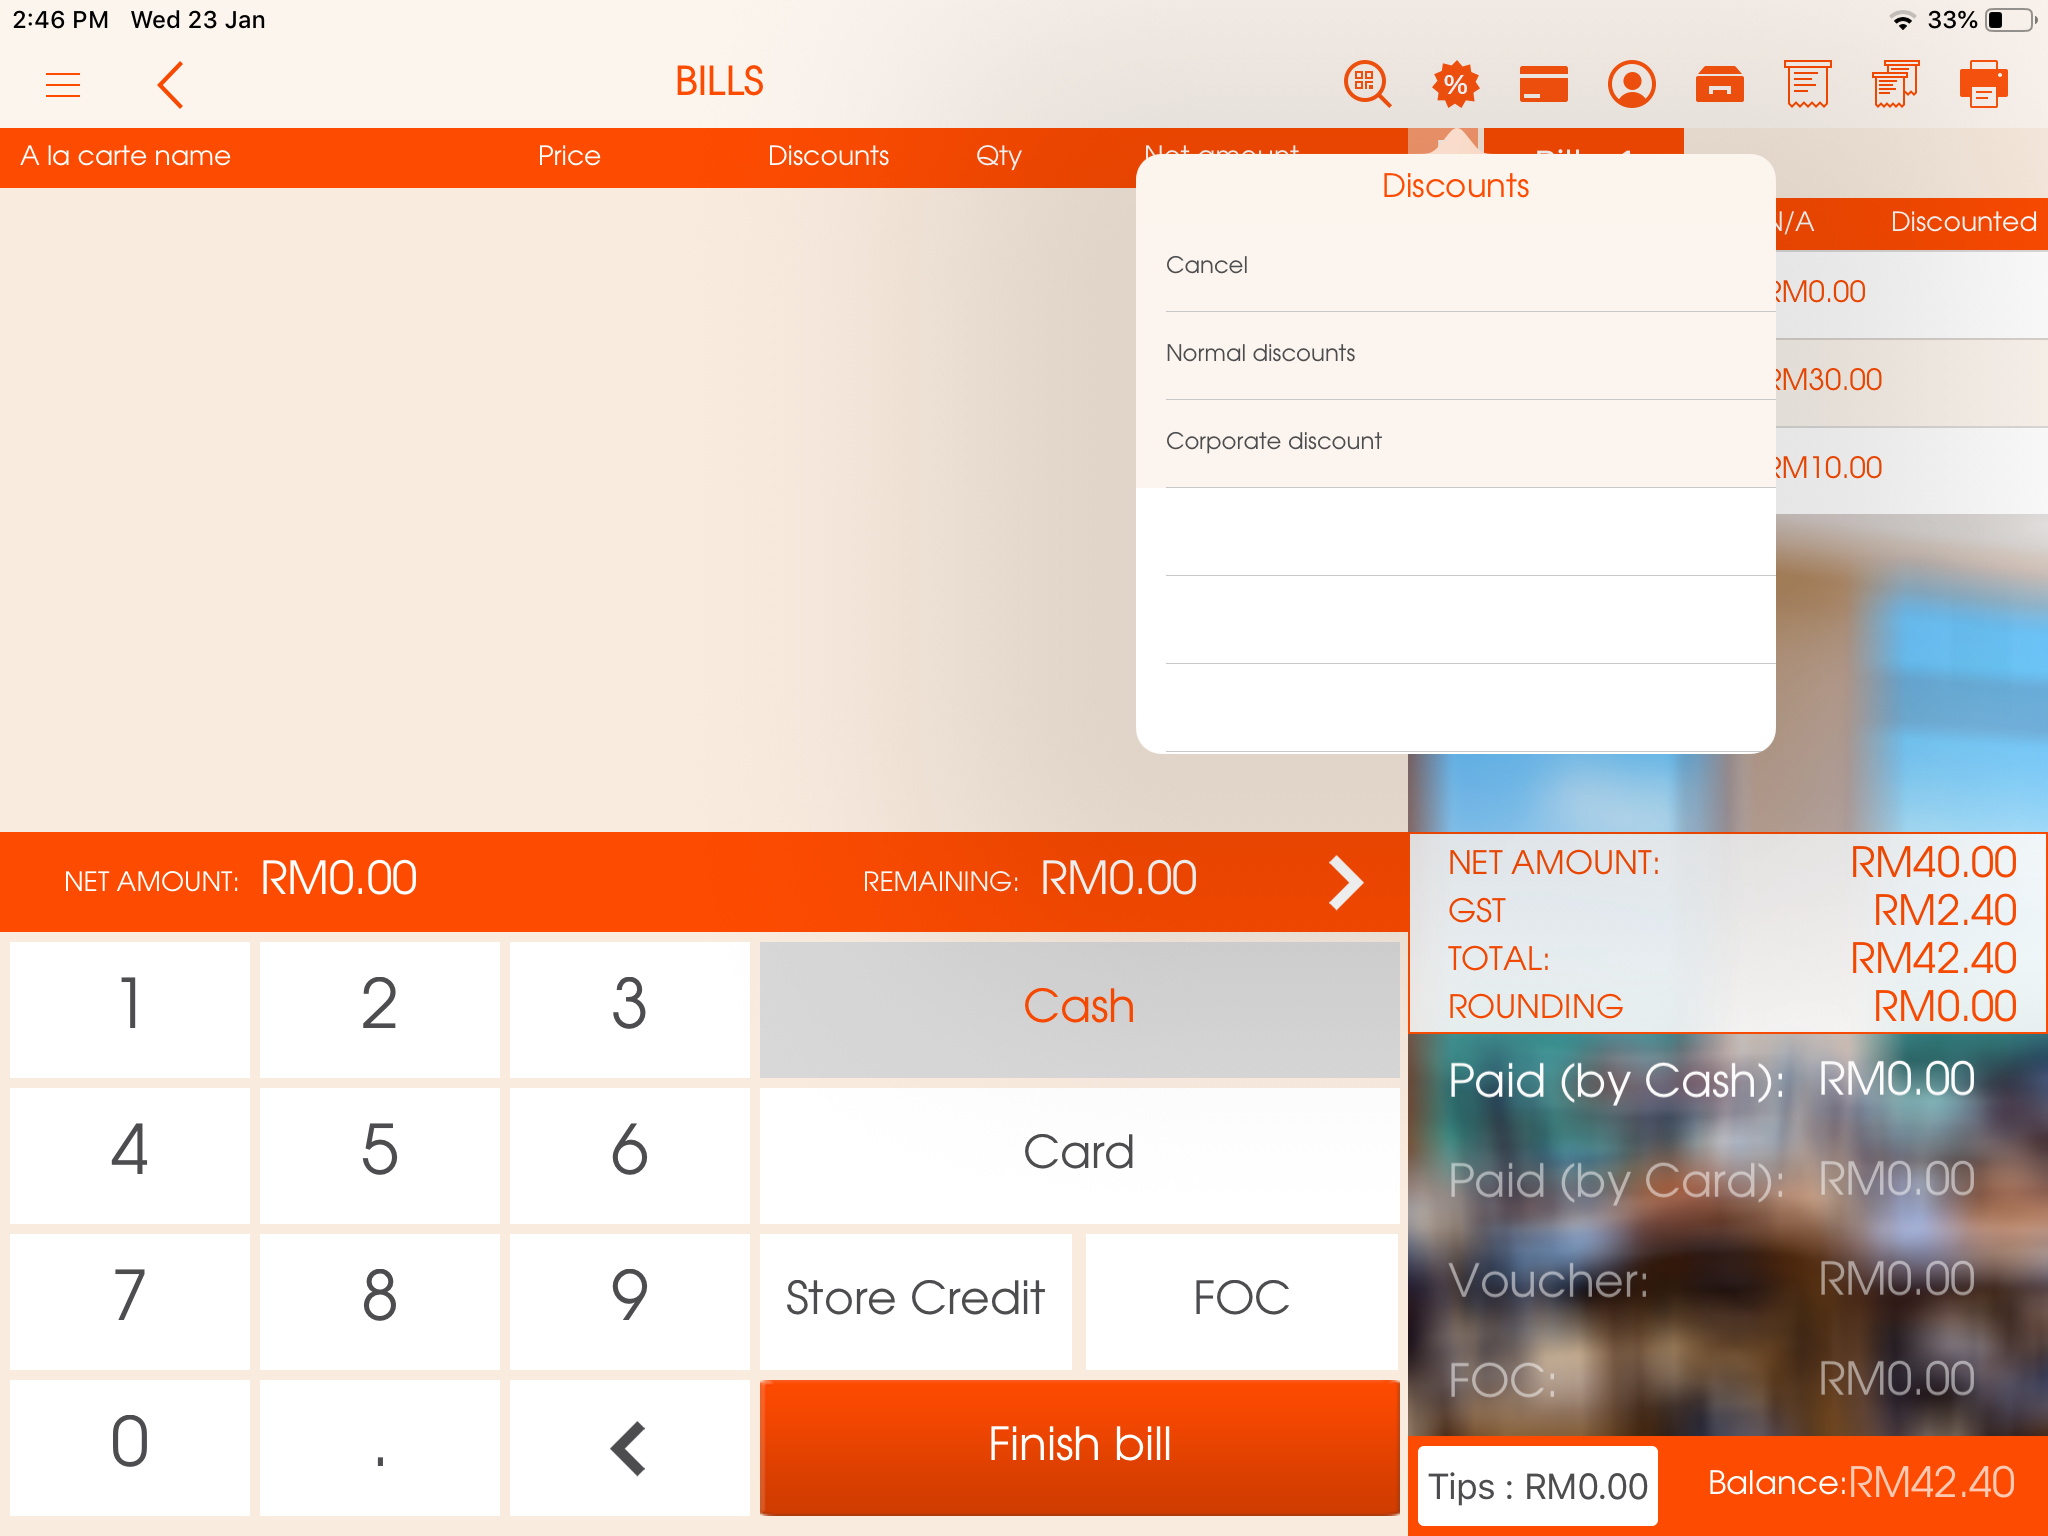
^Cancel - cancel all discounts applied to the order
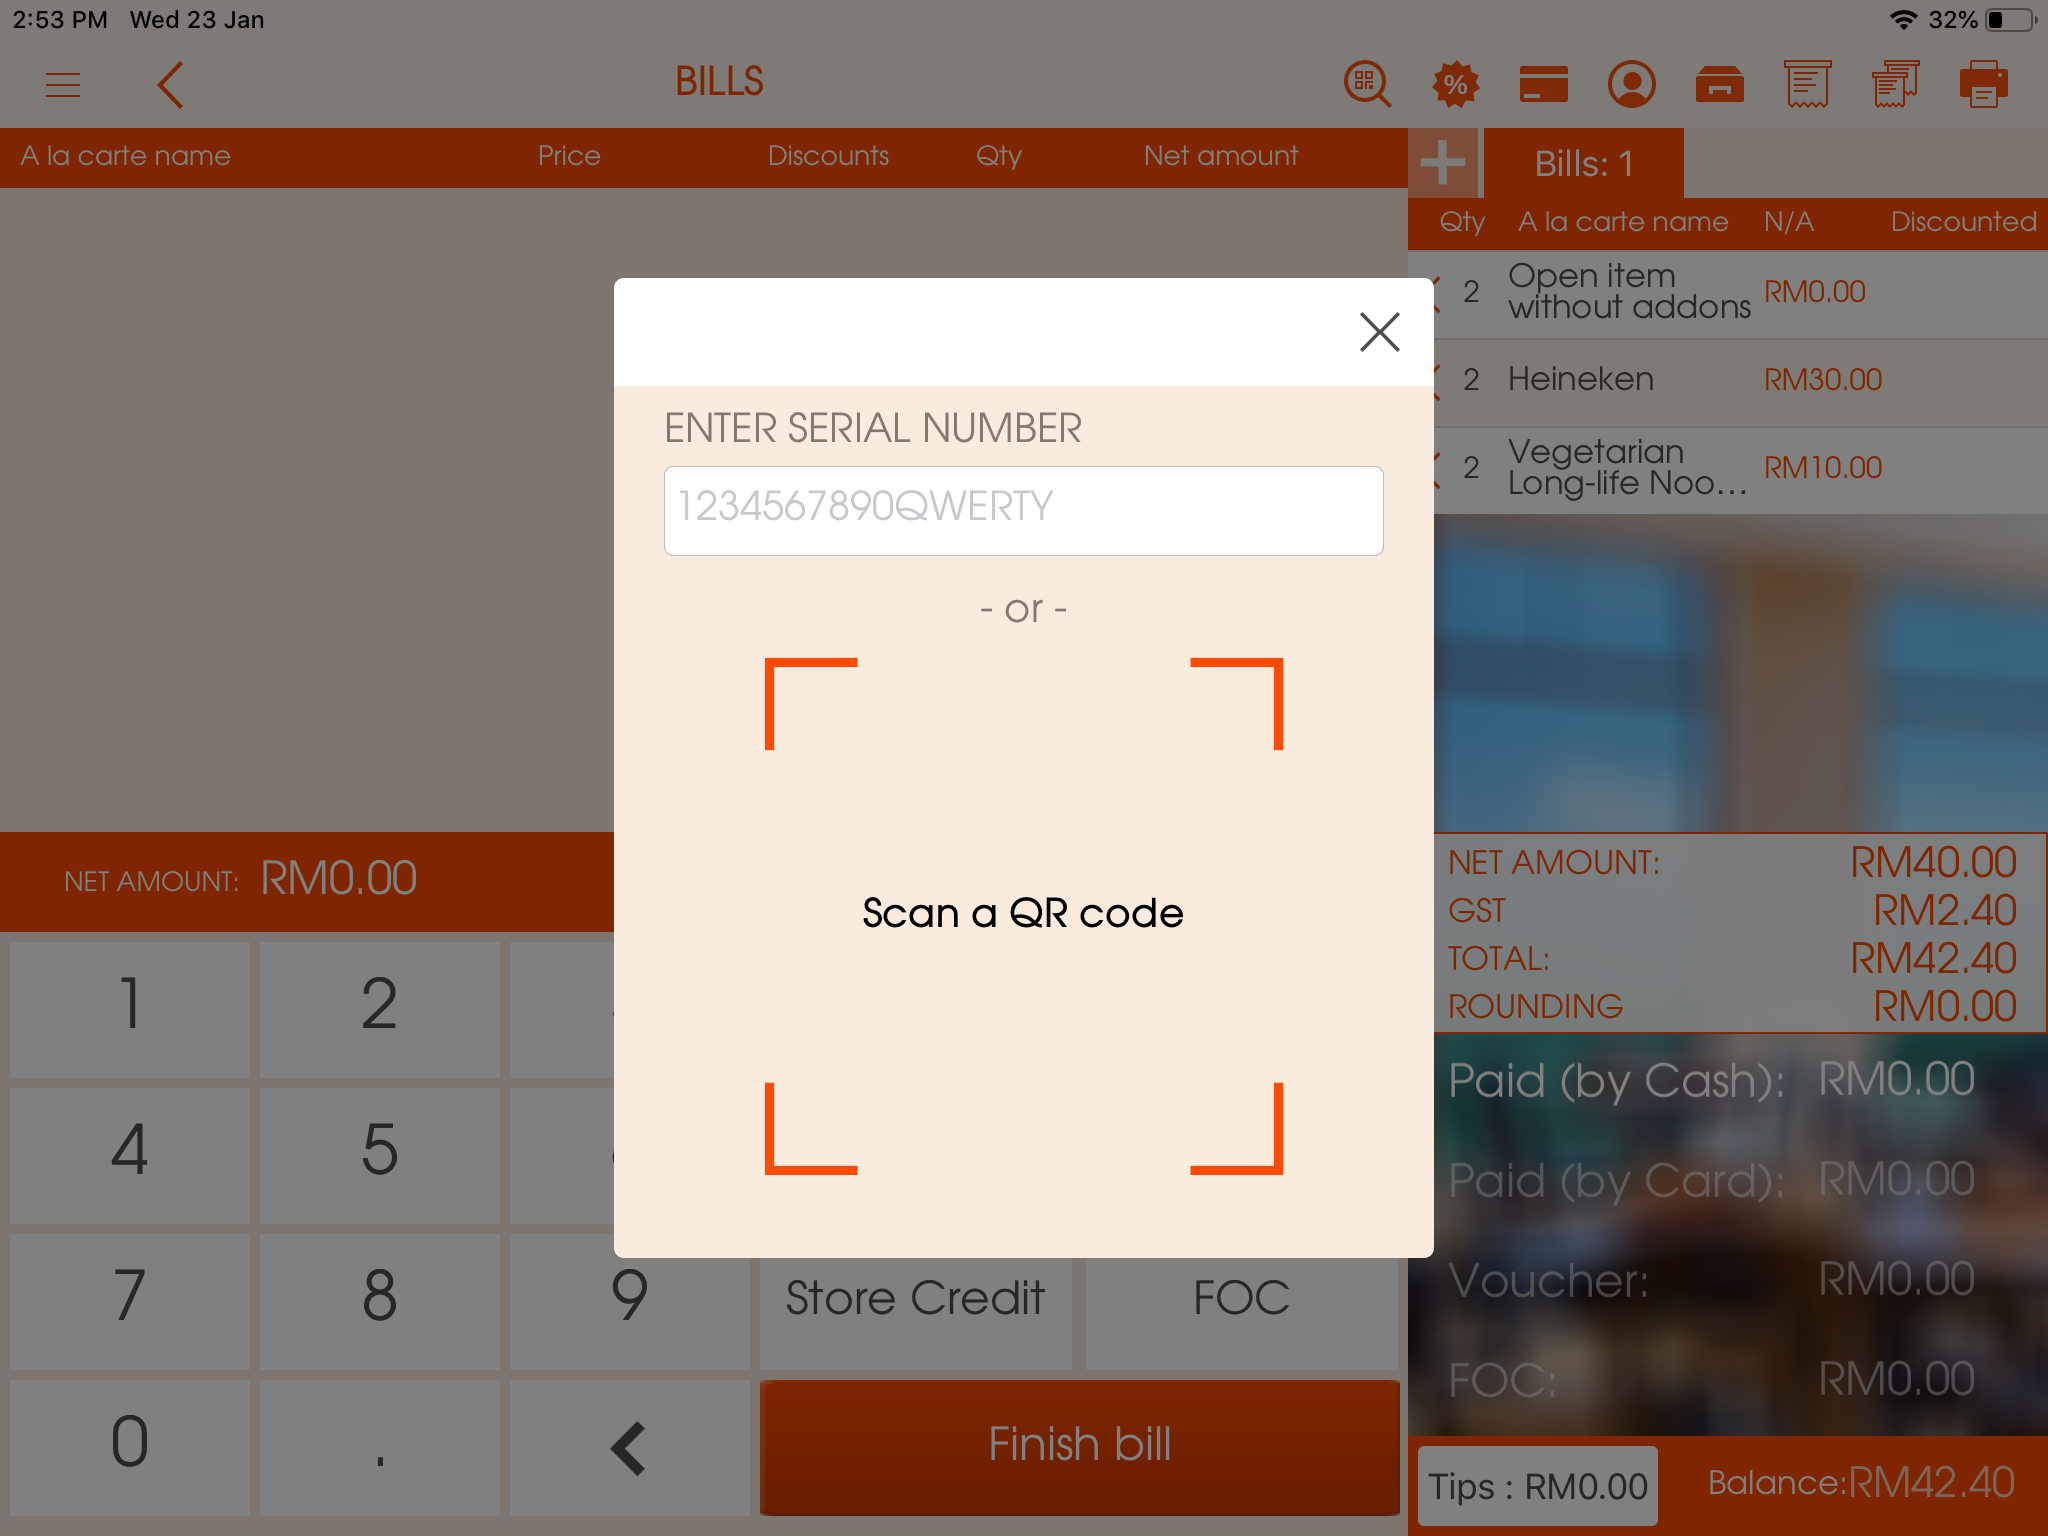
^By discount card - scan the membership card by camera or by the barcode scanner
Picture - (3)
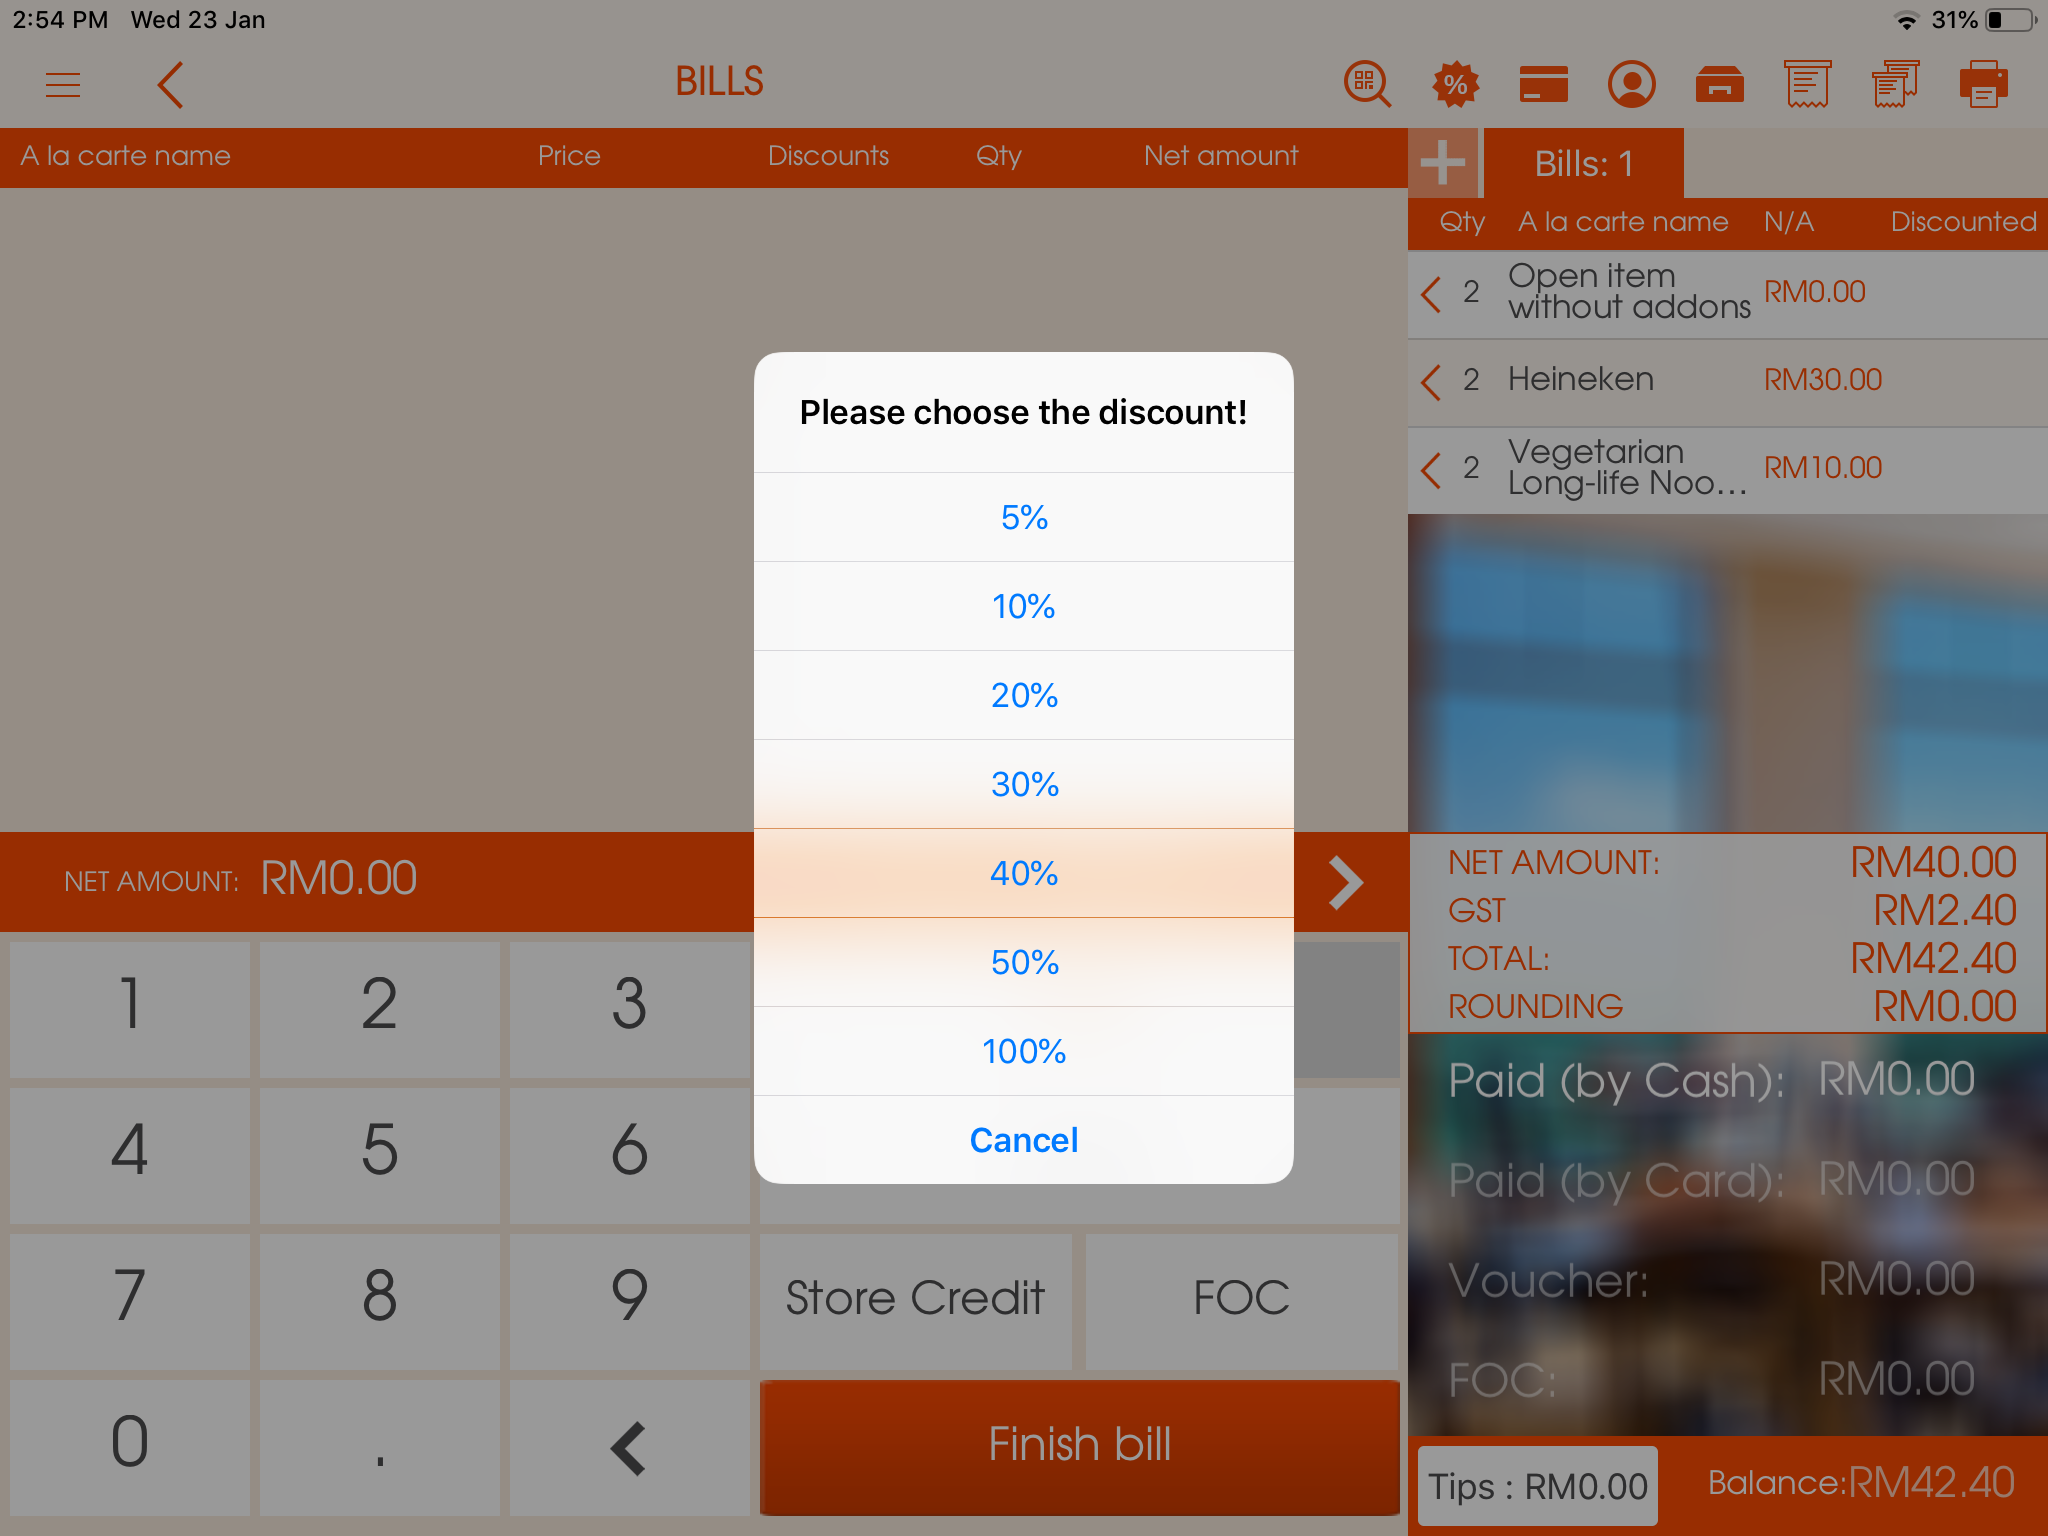
^Normal discount - discount by % (from 5%-100%)
Picture - (4)
^Corporate discount - custom discount. The discount can be created depending on your operation and your CRM. (e.g. bank diner card)
Picture - (5)
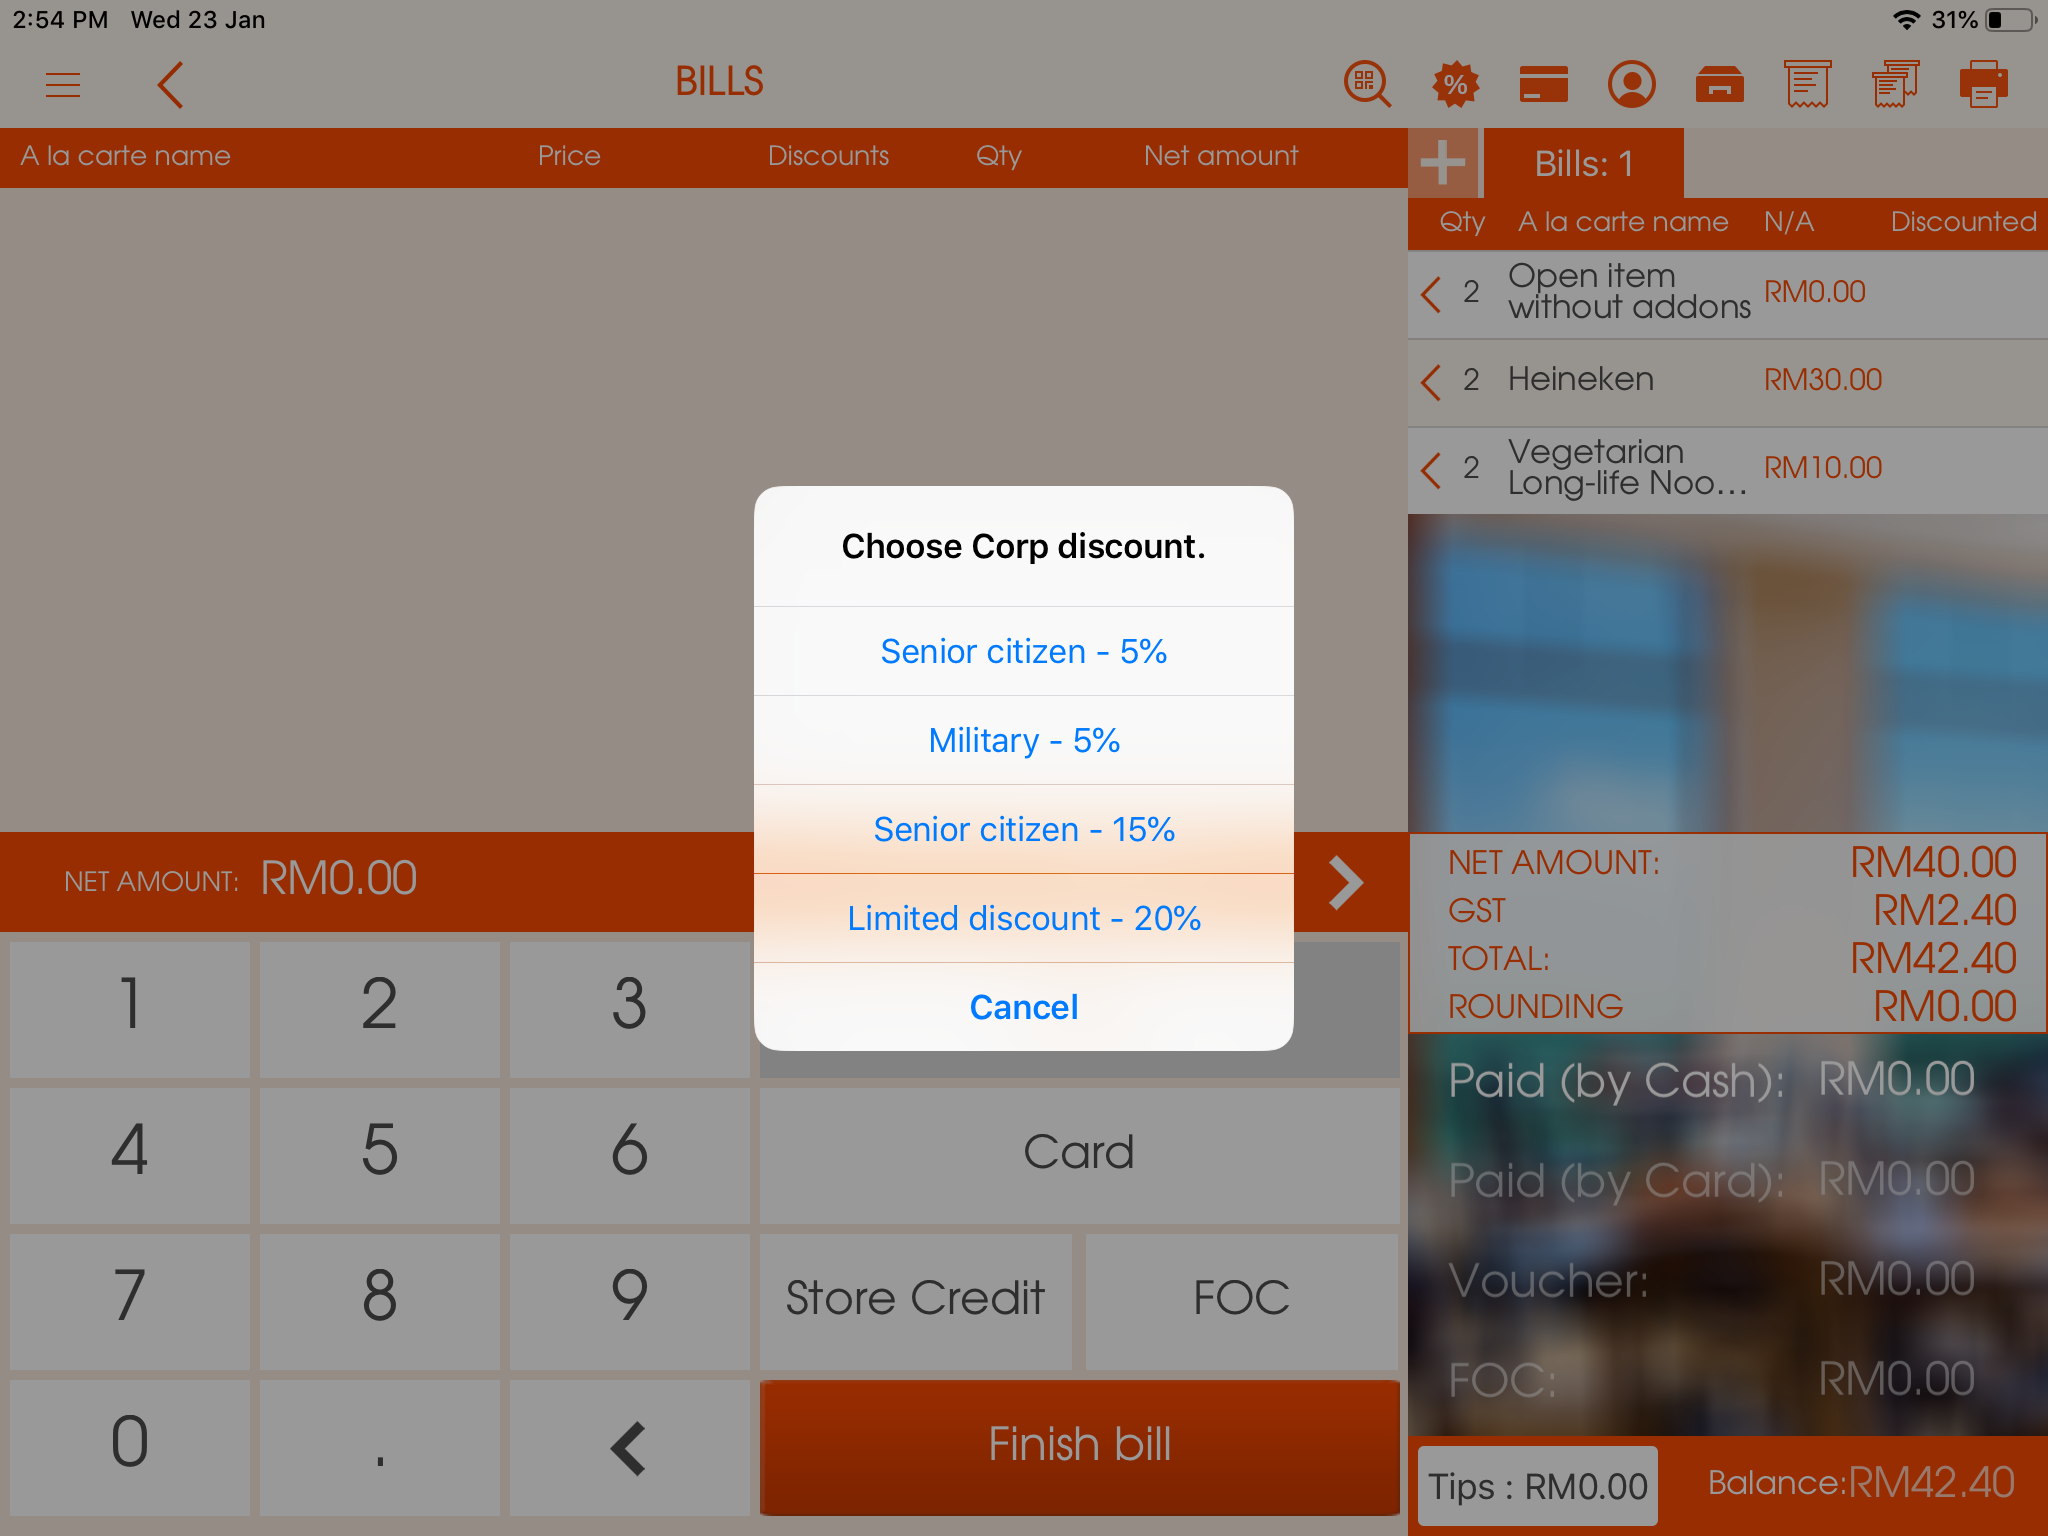
*To create a corporate discount:
-Go to "Management" in the Main Menu
-Enter the "Discount" section
-Click on the PLUS (+) icon located on the top right corner of the screen
-Fill in the required fields
-The discount can be created as either by percentage or by the amount
-Click "Save" and the discount will be created for your future use.
*Please see Management section for a detailed explanation
4. Prepaid card (scan barcode) - top-up prepaid card. *the prepaid card needs to be created beforehand.
Picture - (6)
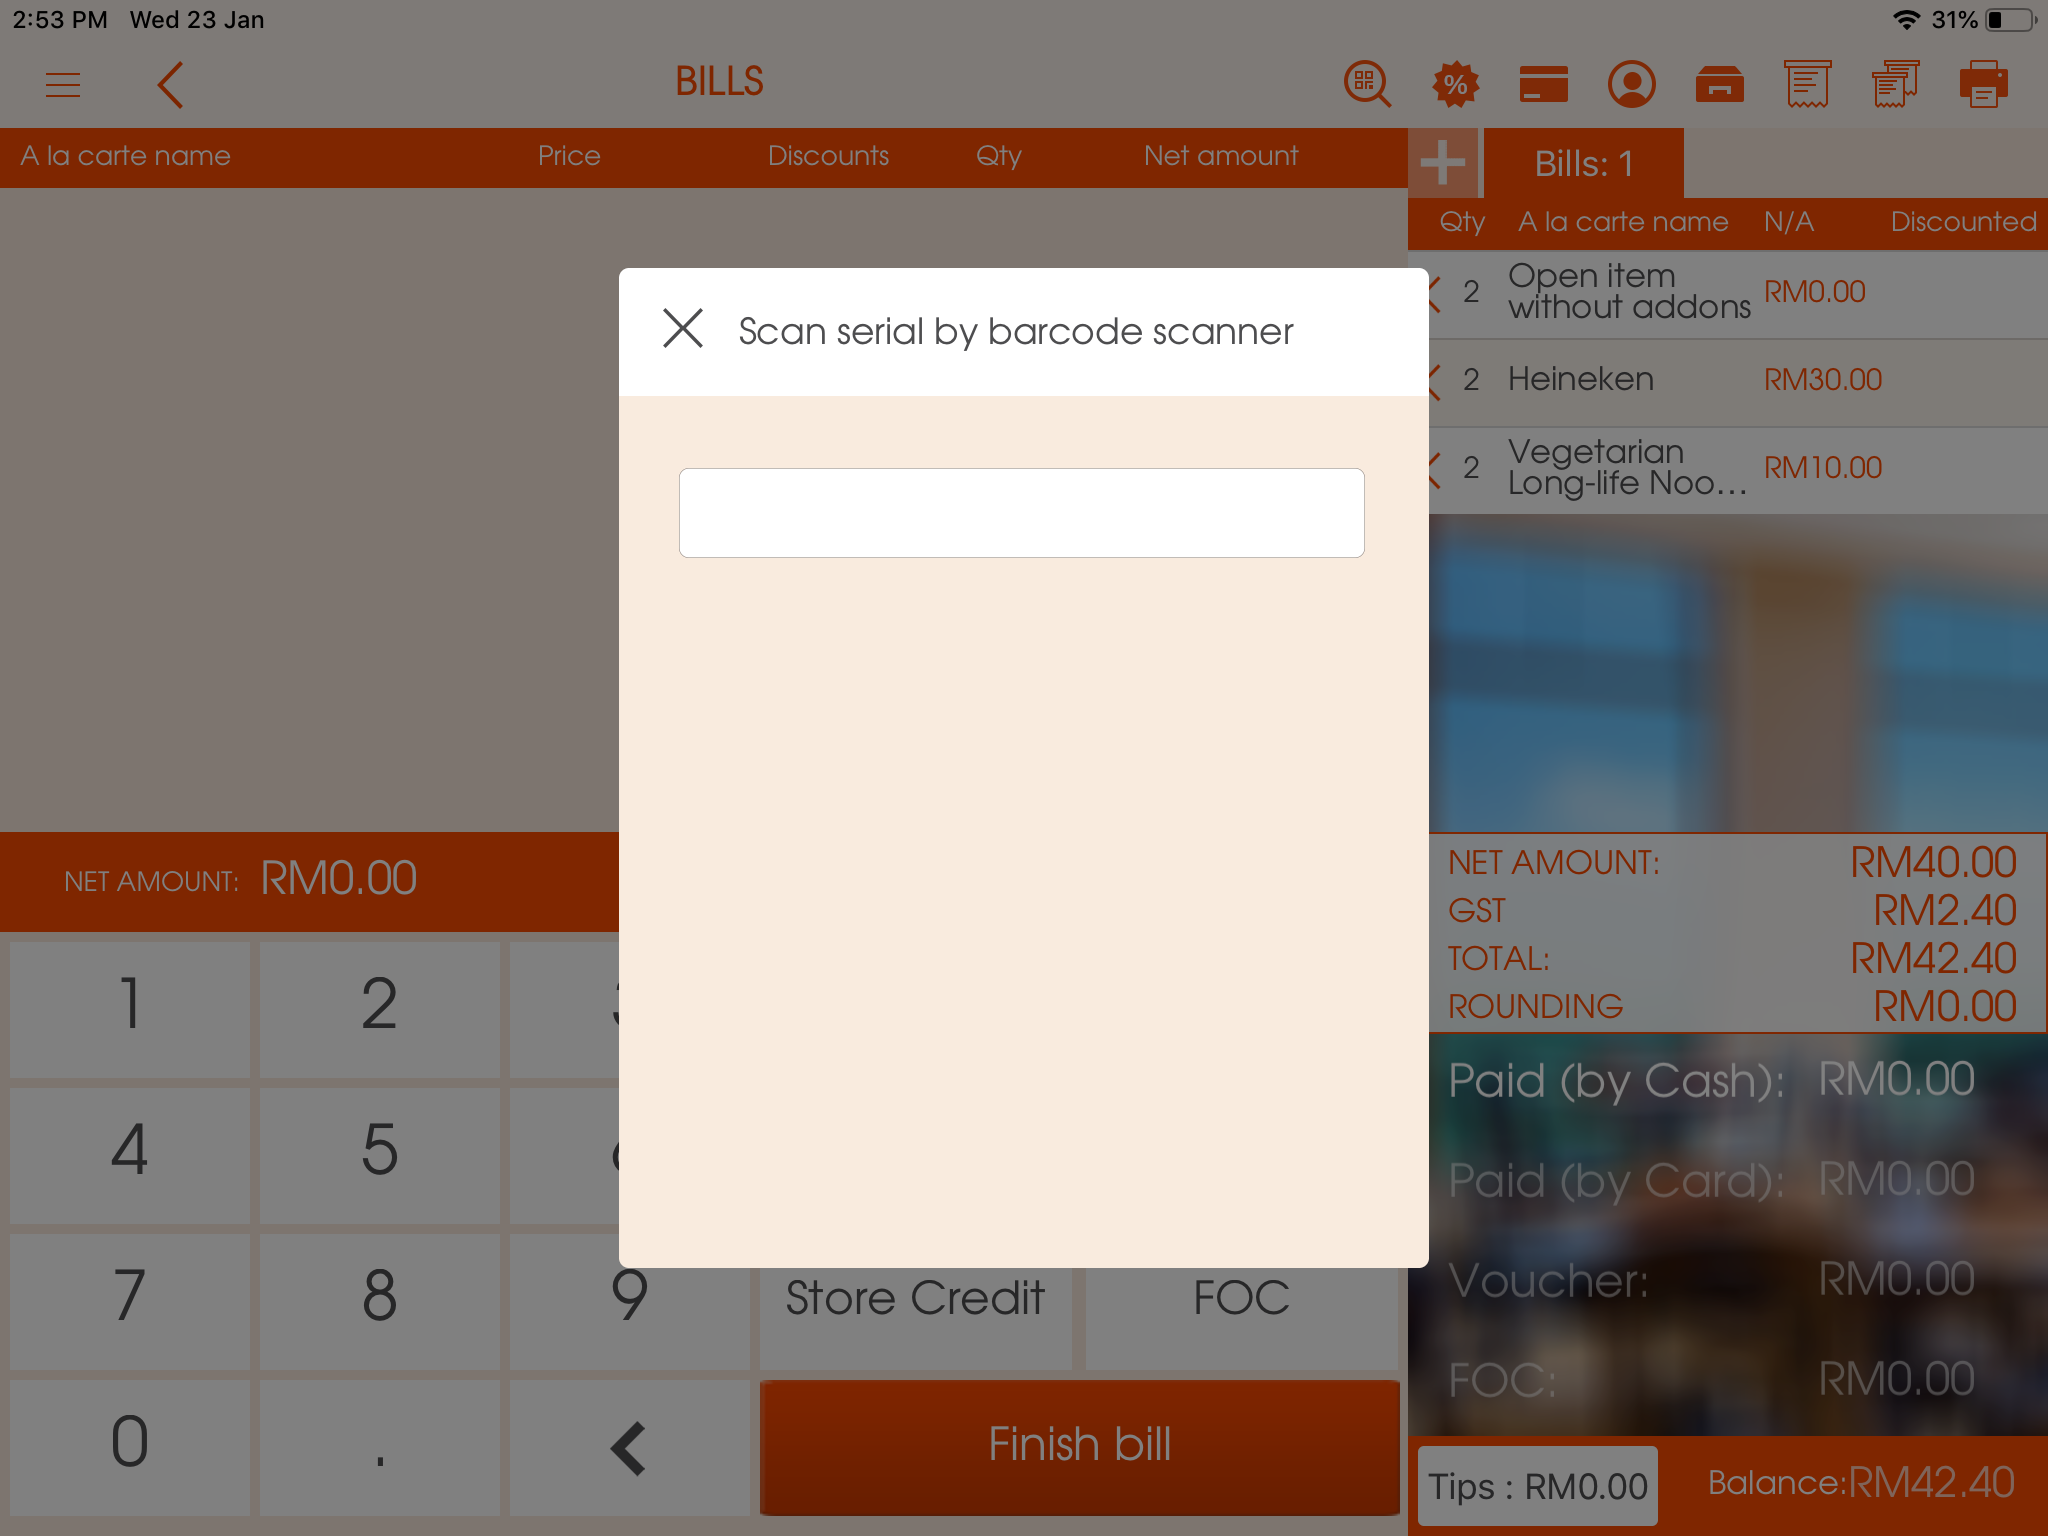
Picture - (7)

To create a prepaid card:
-Go to "CRM" in the Main Menu
-Enter the "Prepaid" section
-Click on the PLUS (+) icon located on the bottom right corner of the screen
-Fill in the required fields
-Click "Save" and the prepaid card will be created
*Please see CRM section for a detailed explanation
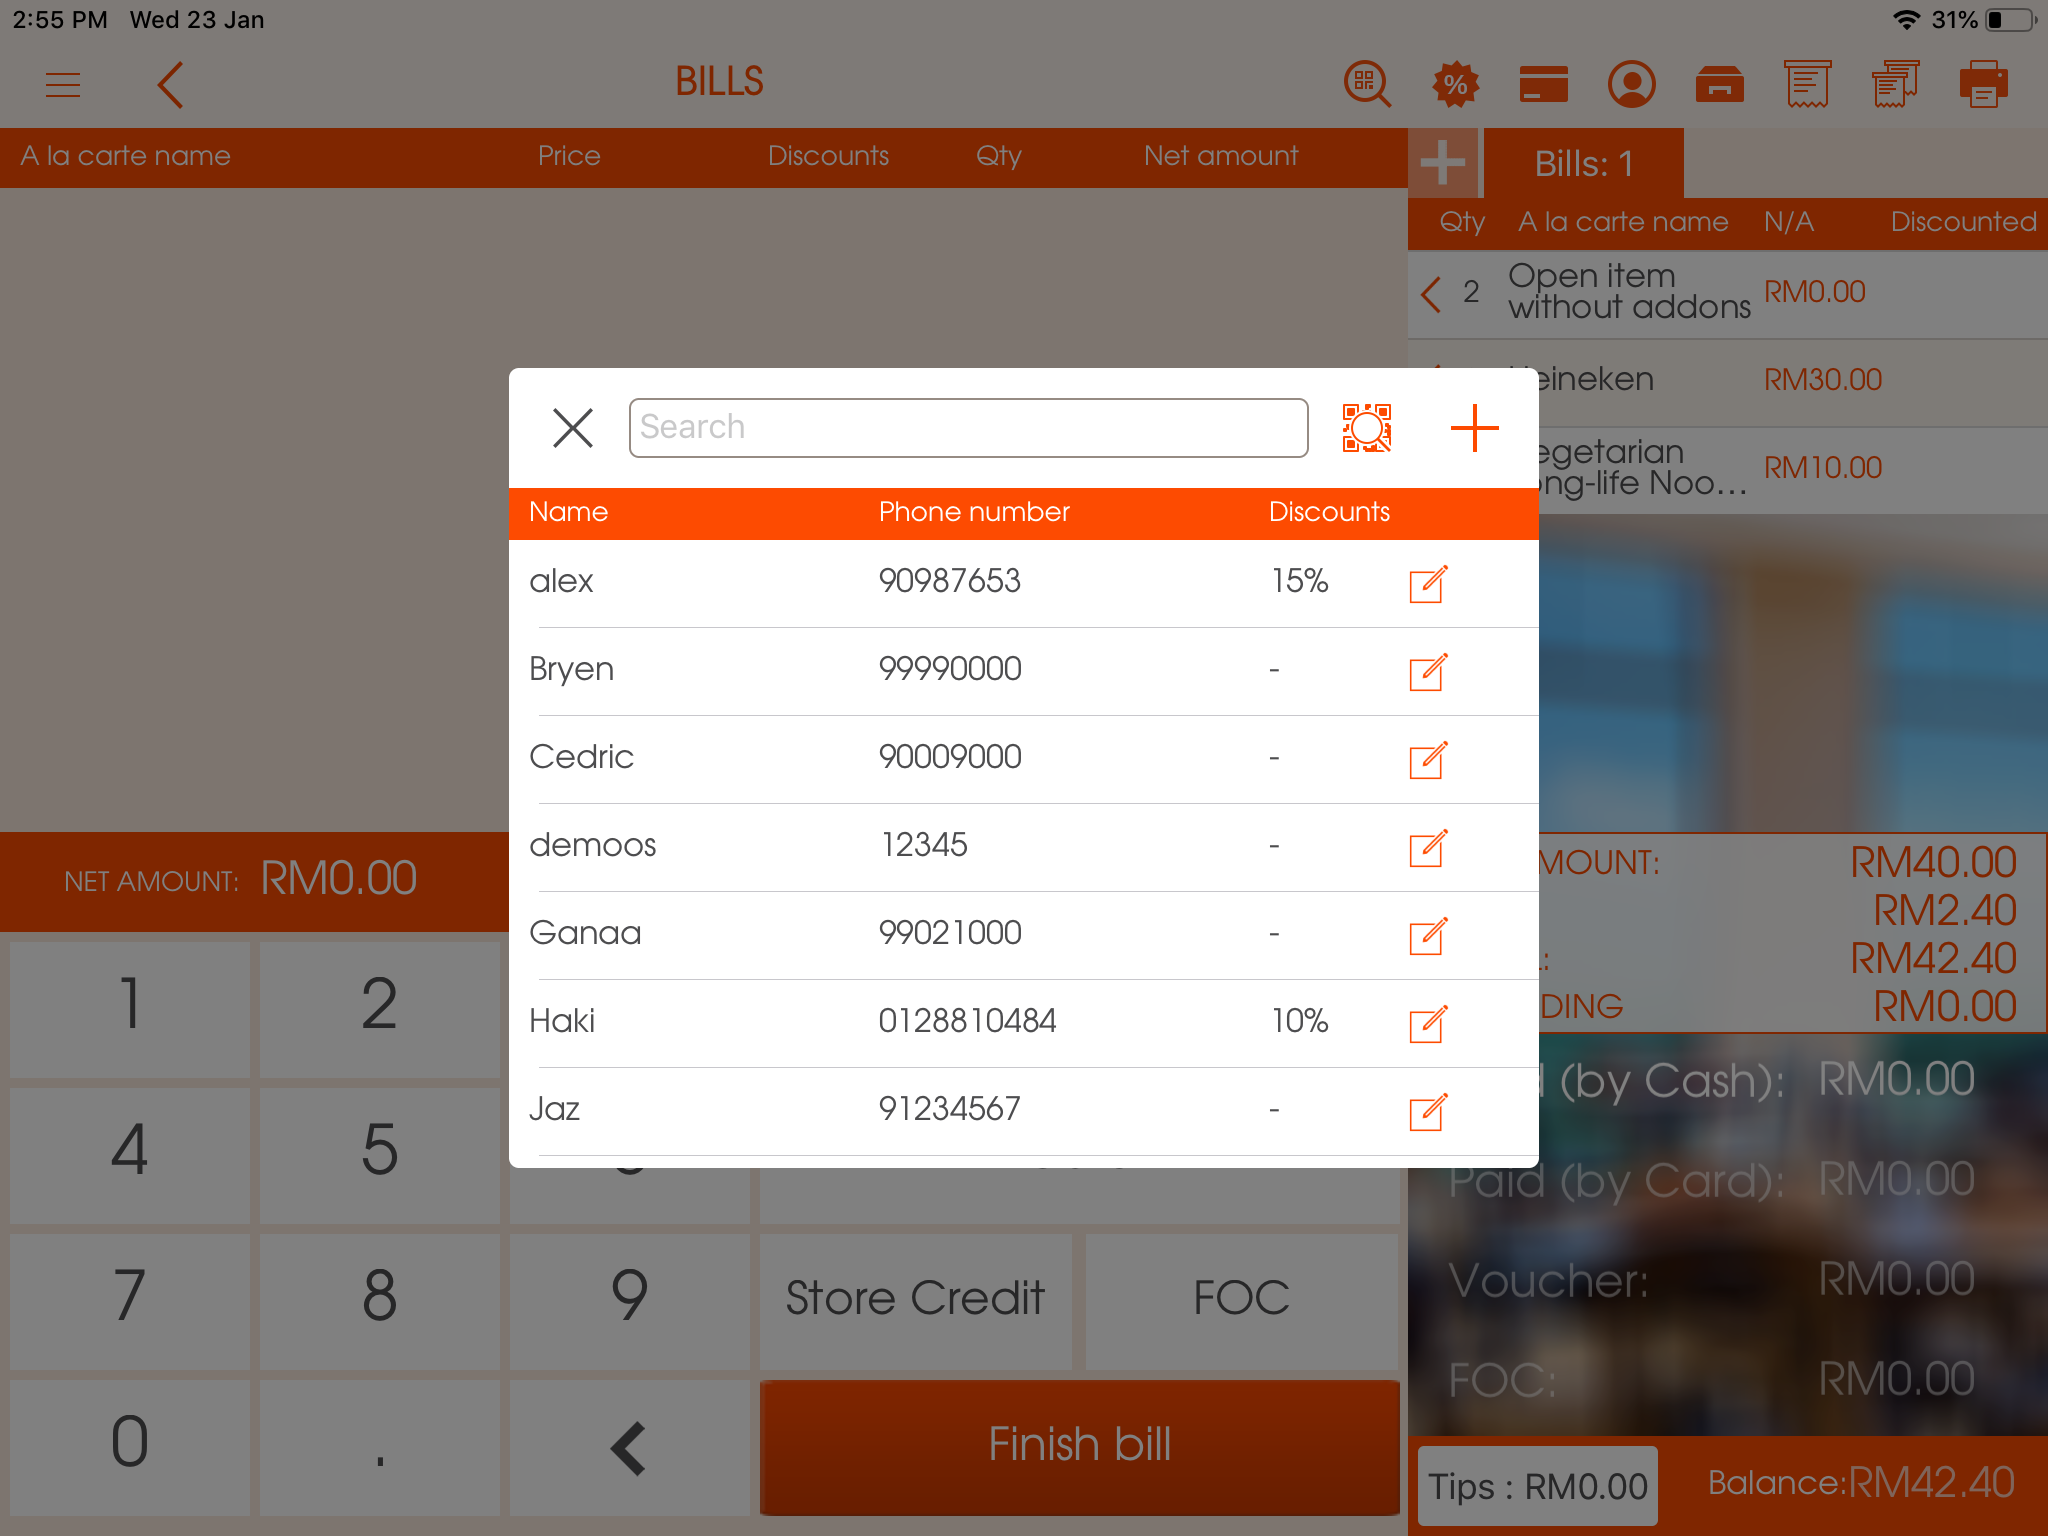
5. Member - select a customer to assign the order to.
To add a new member:
-Click to "Member" icon
-Click the icon that is on the furthest right (Pencil on a square icon)
-Fill in the required fields
-Click "Save" and a new member will be created
*Please see CRM section for a detailed explanation
Picture - (8)
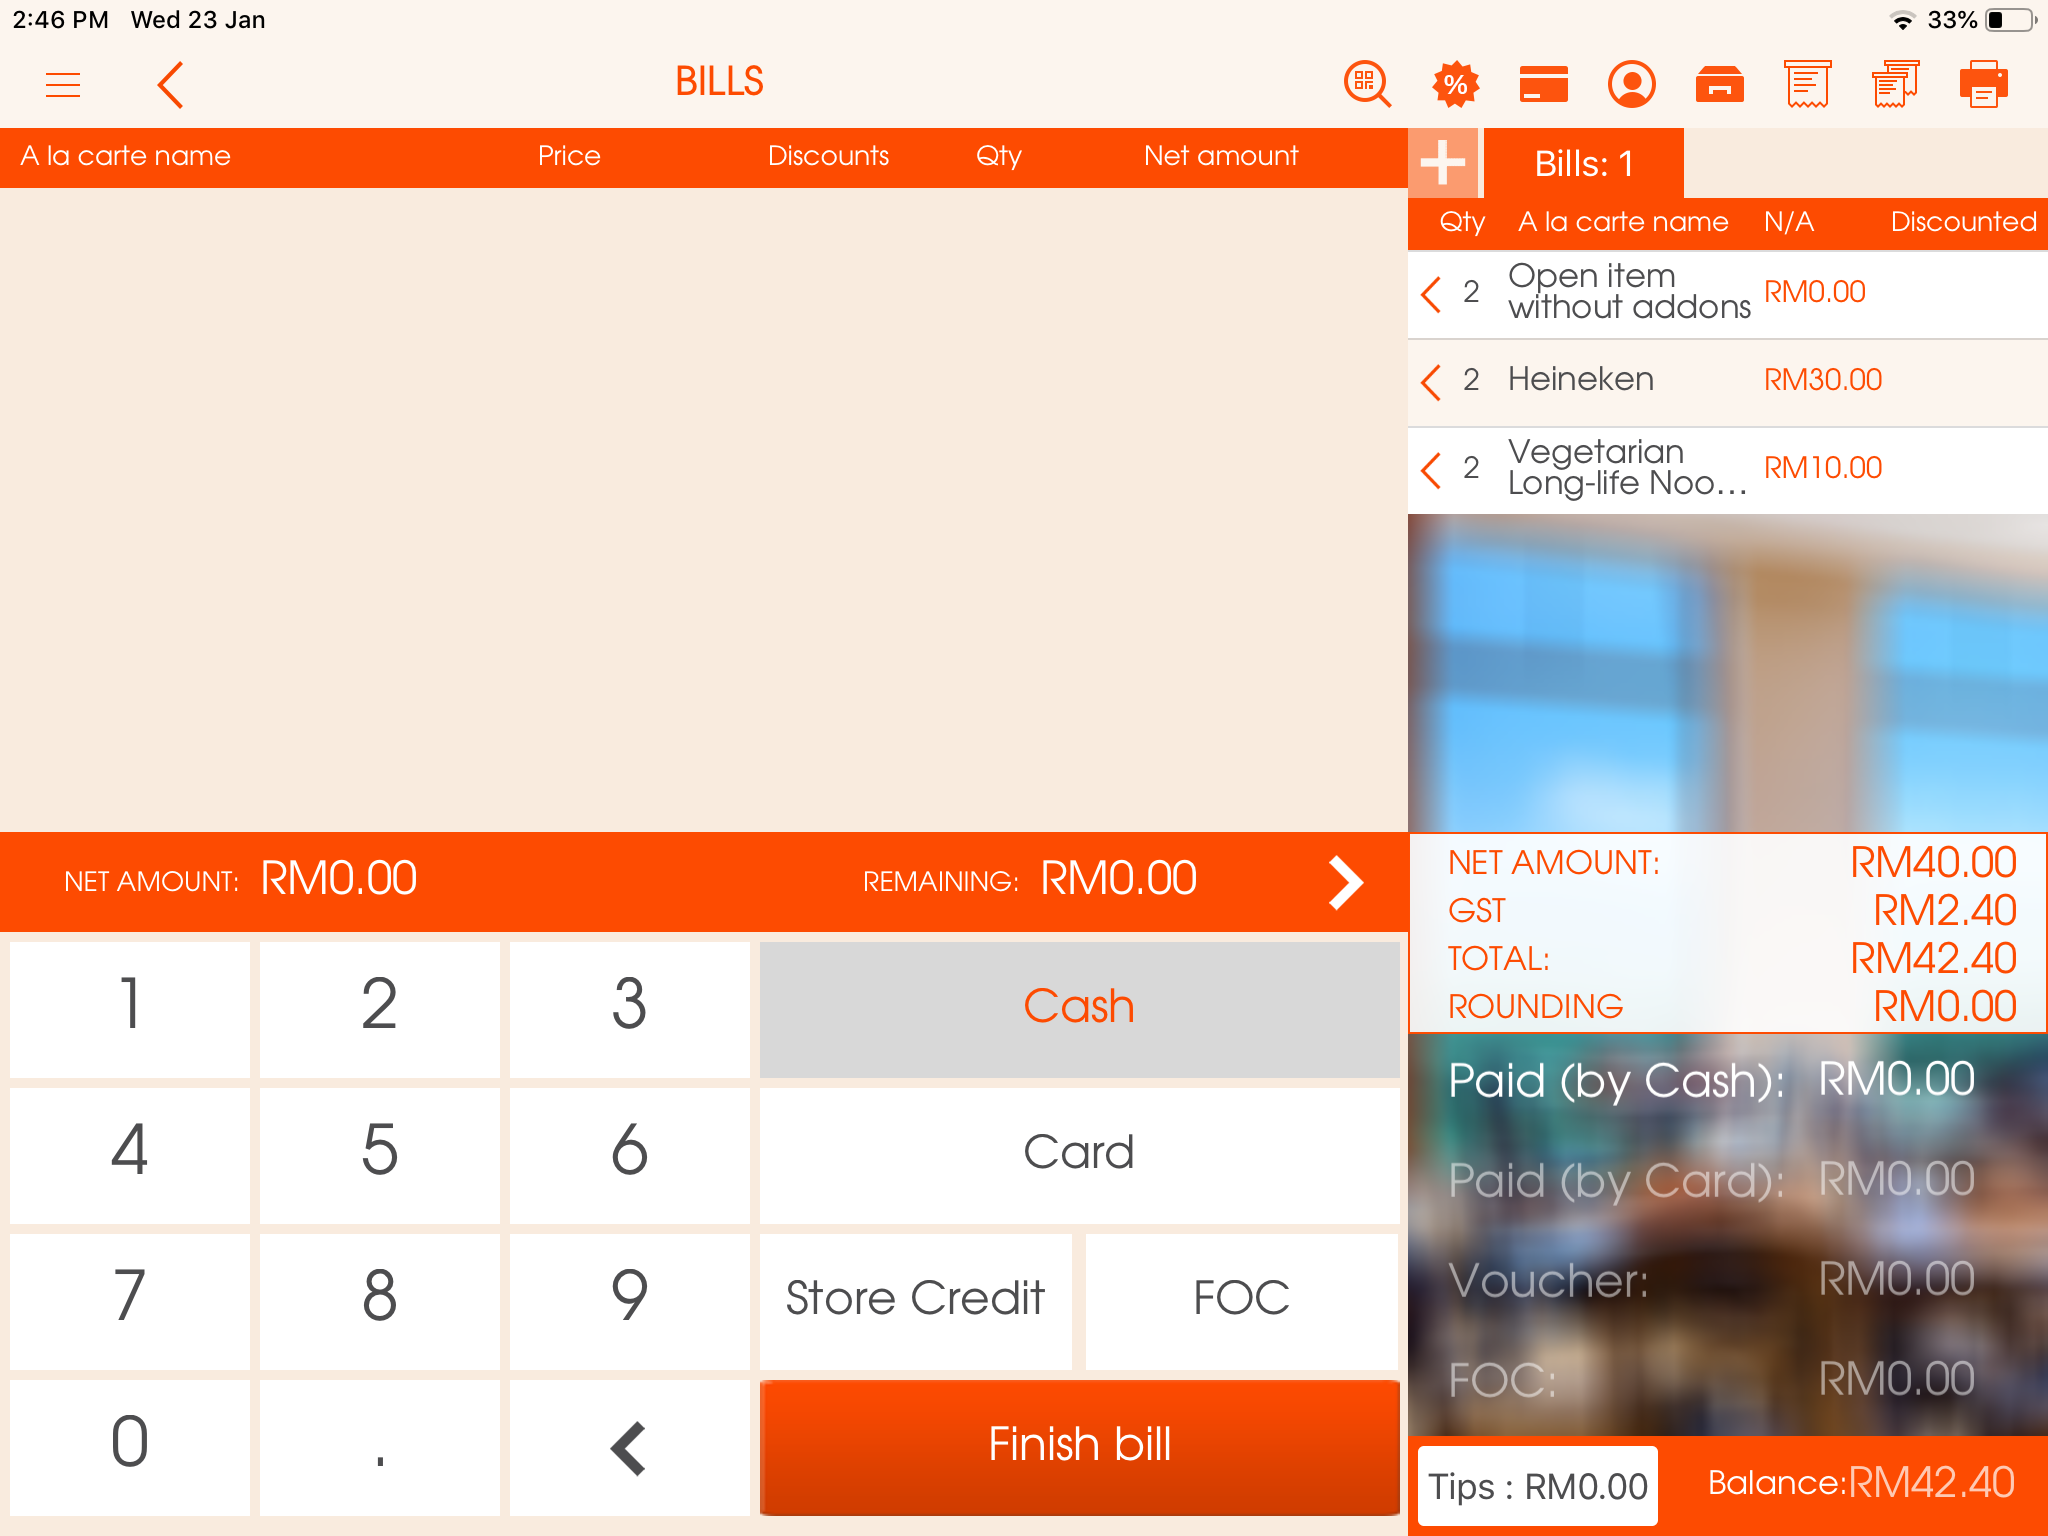
6. Cash drawer- open the cash drawer
7. Single bill - to finish the registered bill
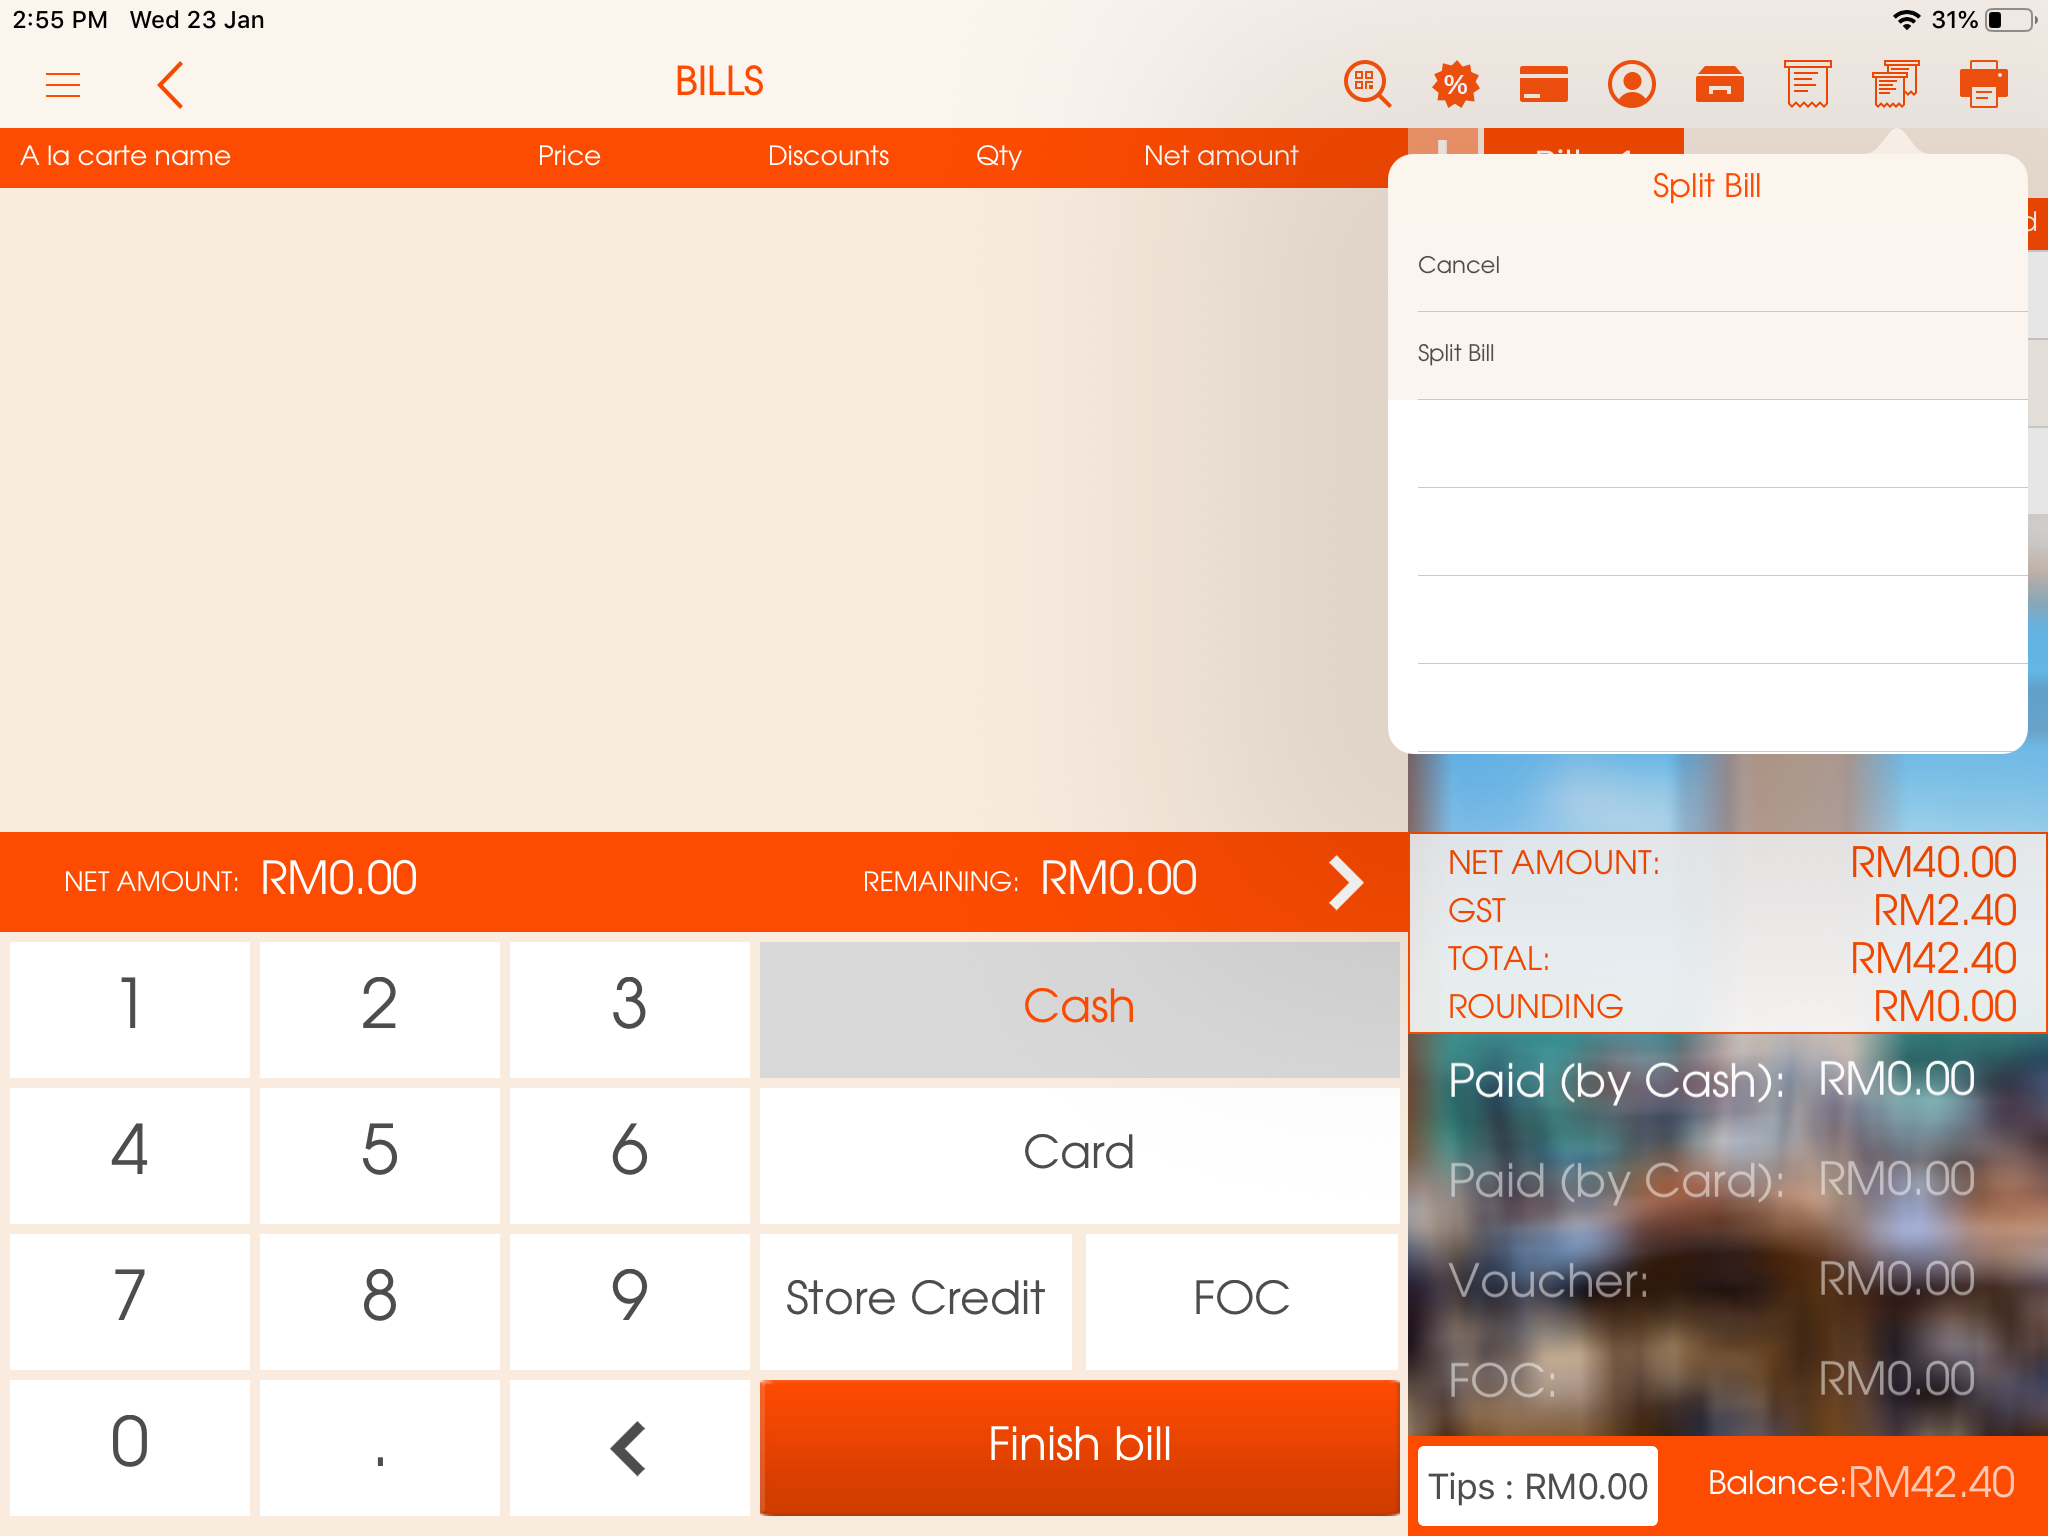
8. Split bill - split the bill according to the customer's request.
^Cancel - cancel the separation of the bill
^Split bill- Enter the number of how many times do you want the bill to be separated.
Picture - (9)
9. Pre-bill - to show the preview of the bill to the customers.
(right side of the screen; explained from top to bottom)
1. PLUS (+) icon - add the separate bill. In case it was added by accident keep holding the "Bill 1" until a message appears about whether are you sure to delete the bill or not.
2. Qty- quantity of the ordered menu item
3. A la carte name - the name of the menu item
4. Discounted - discounted amount
5. Net Amount: - the total amount of the bill
6. Total Due: - the total amount that needs to be paid
*The form of payment chosen will be highlighted in white.
7. Paid (Cash): - the amount of the payment paid in cash
8. Paid (default card account): - the amount of the payment paid by card account
9. Voucher: - the amount of the payment paid by voucher
10. FOC: - the amount of payment that is "Free of Charge" (FOC account needs to be created beforehand)
11. Balance: the amount of payment that needs to be paid
(left side of the screen; explained from top to bottom)
1. Net amount: the total amount that needs to be collected
2. Remaining: the remaining amount that is not sent to bill screen
After the form of payment is decided, you would need to select payment type.
*The following are the forms of payment:
1. Cash: if paid by cash, "Cash" should be selected
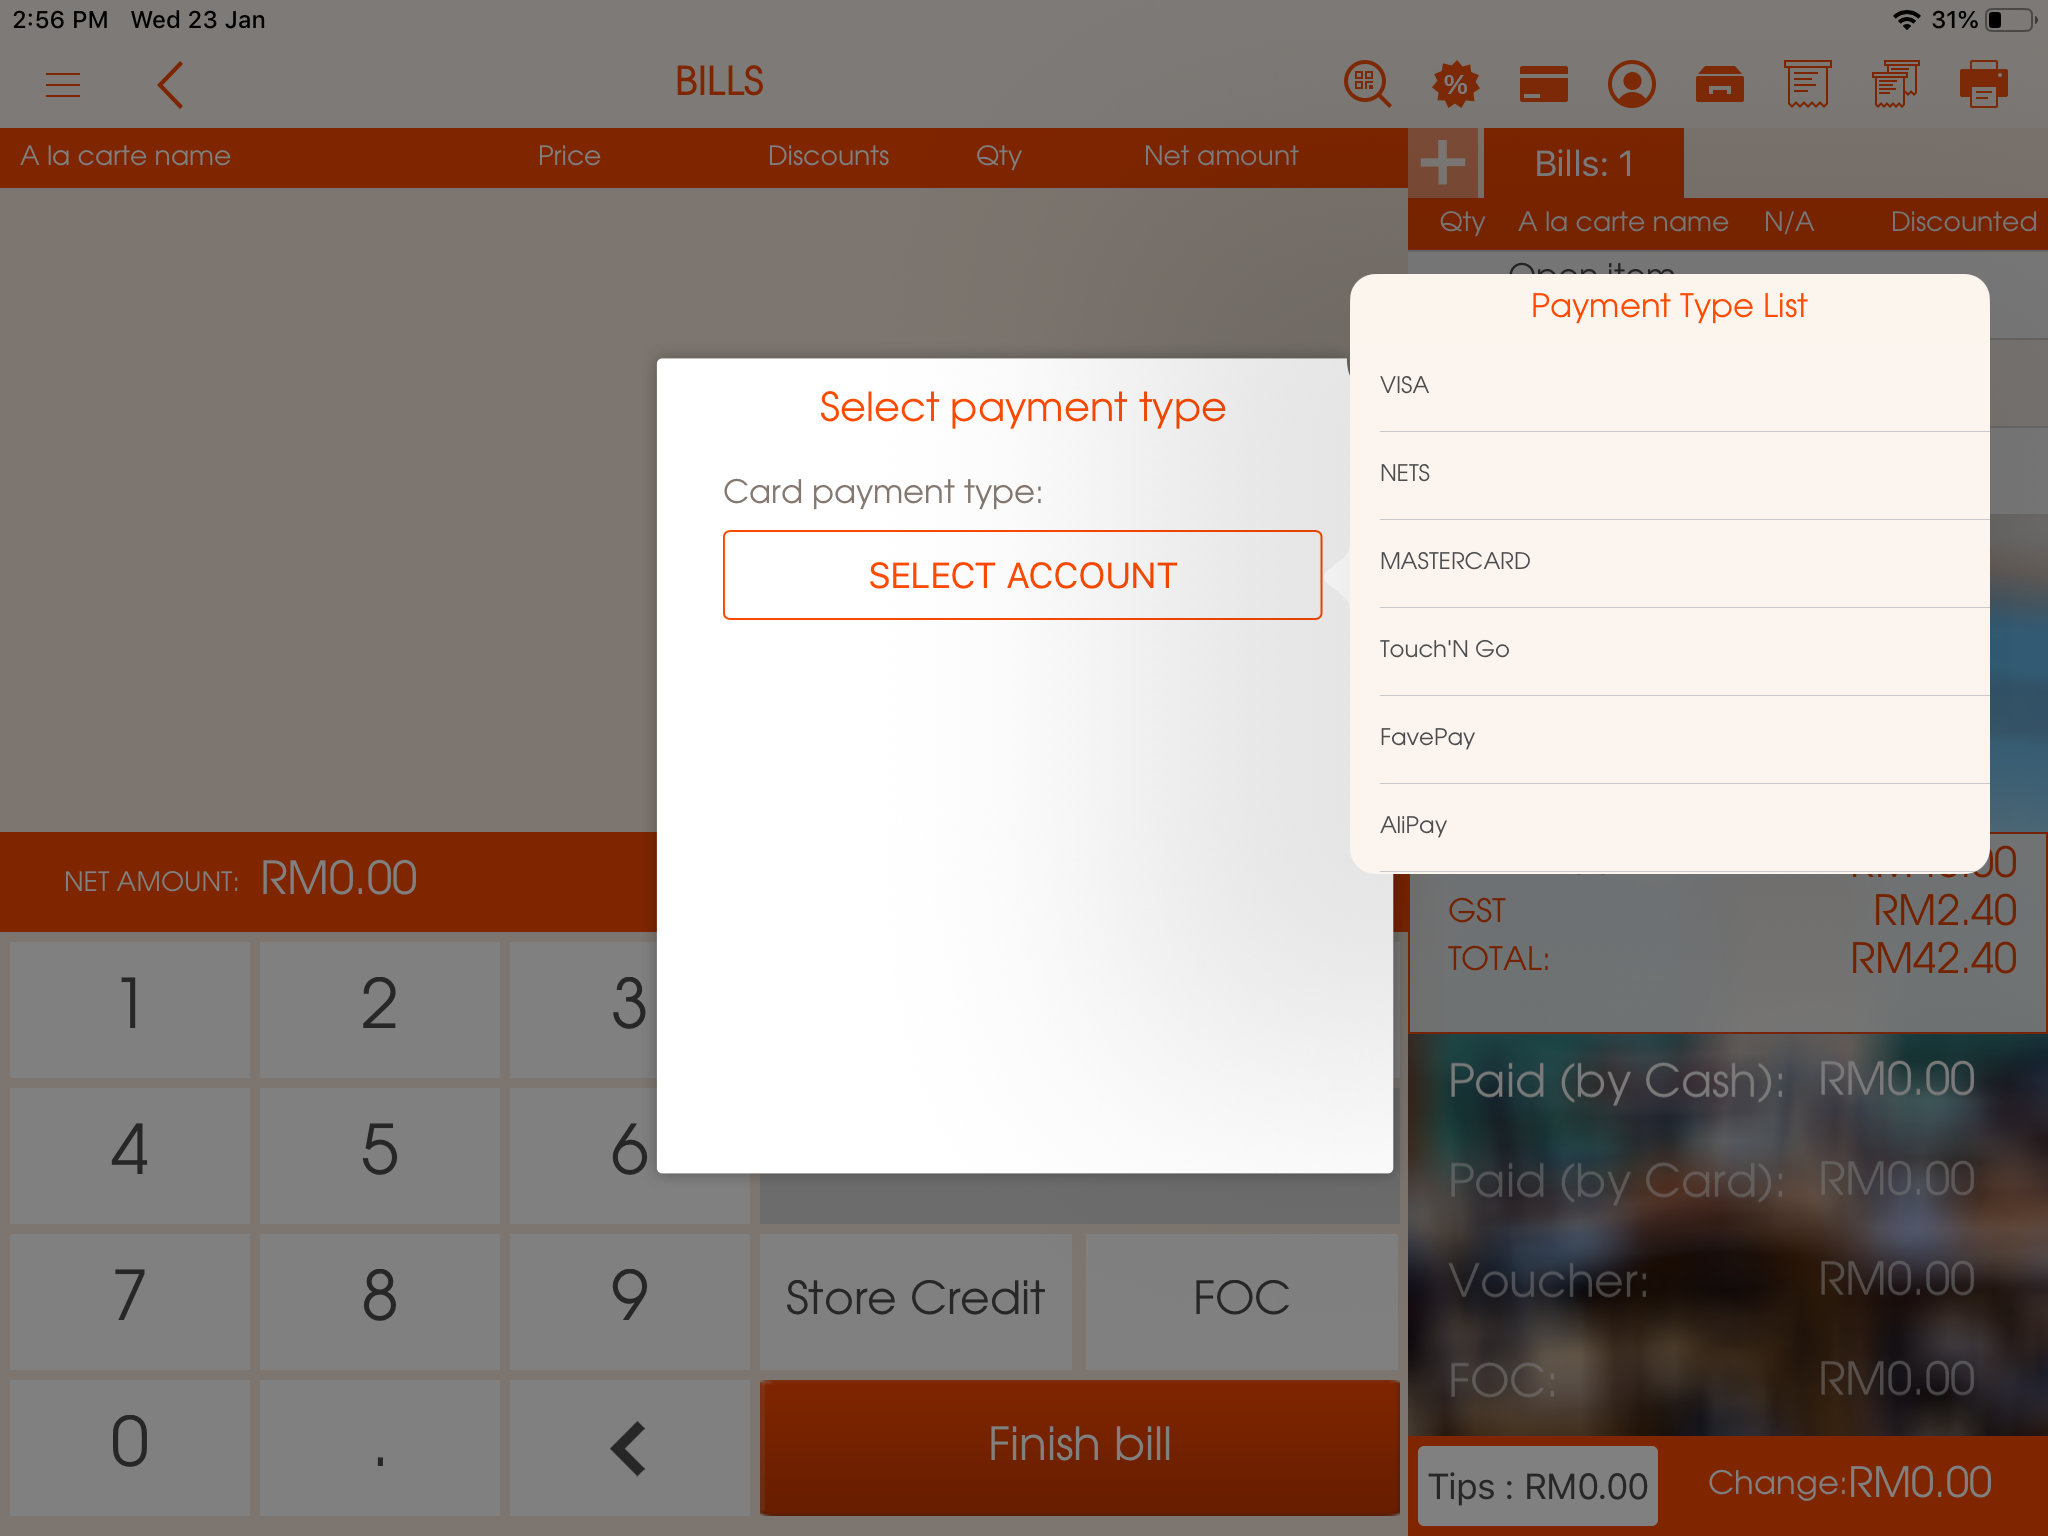
2. Card: if paid by card, "Card" should be selected
3. QPAY: if paid by QPAY (by scanning QR code of the establishment's bank account)
Picture - (10)
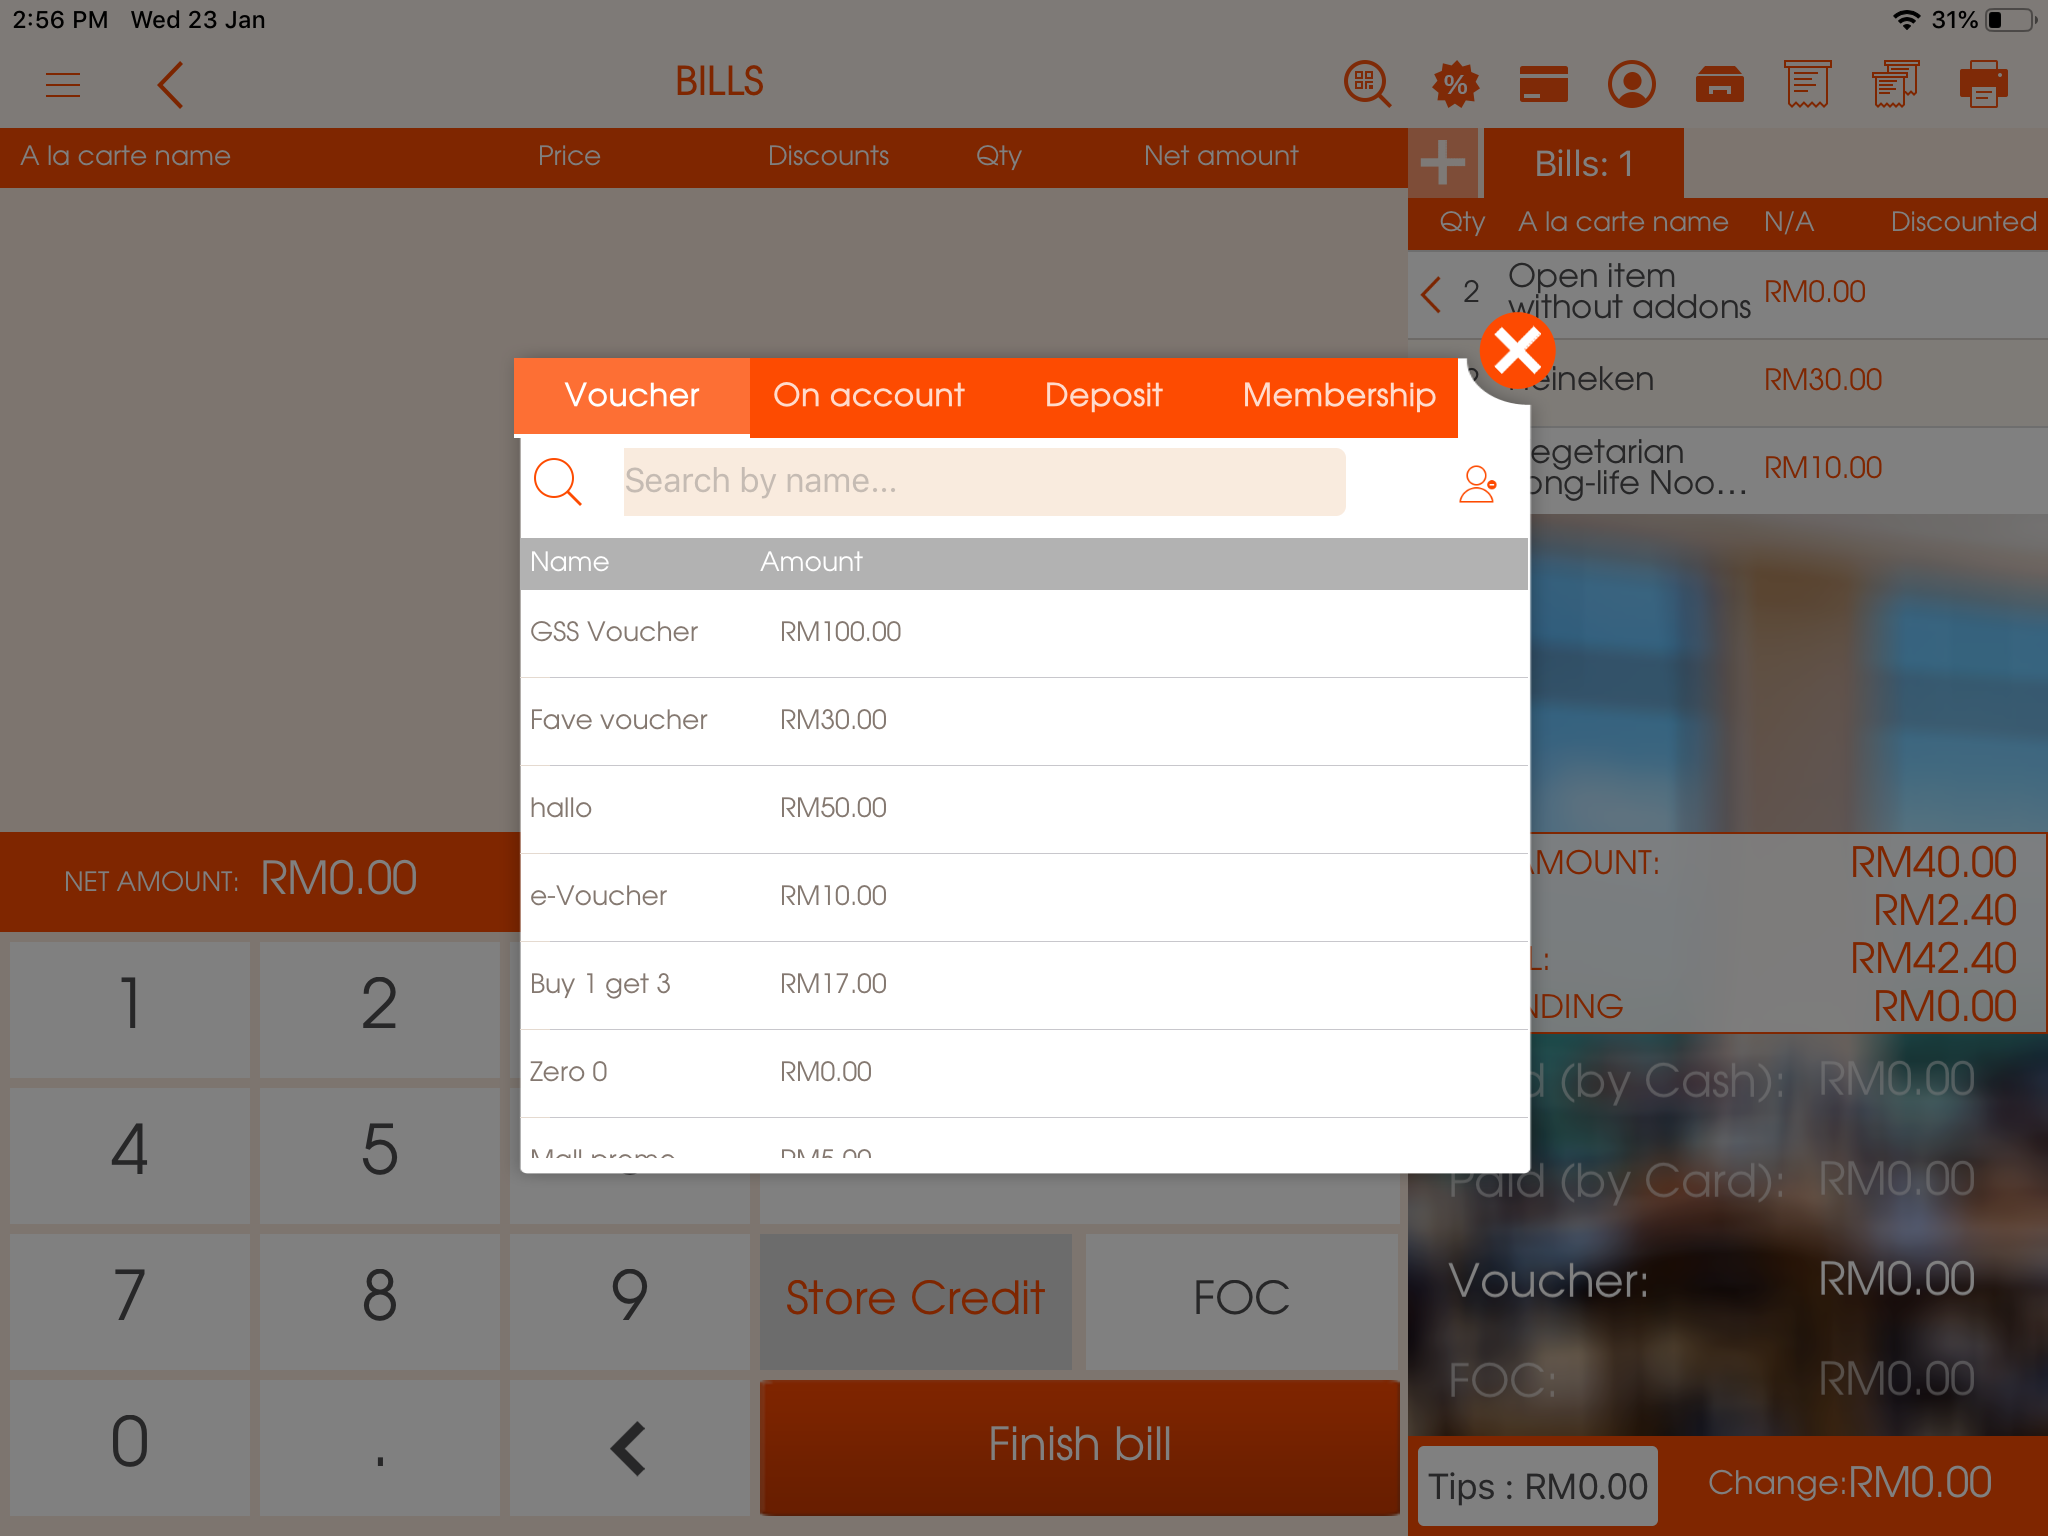
4. Store credit: if paid by voucher, or by any forms of payment that requires member information (on the account, deposit or by membership card) "Store credit" should be selected
Picture - (11)
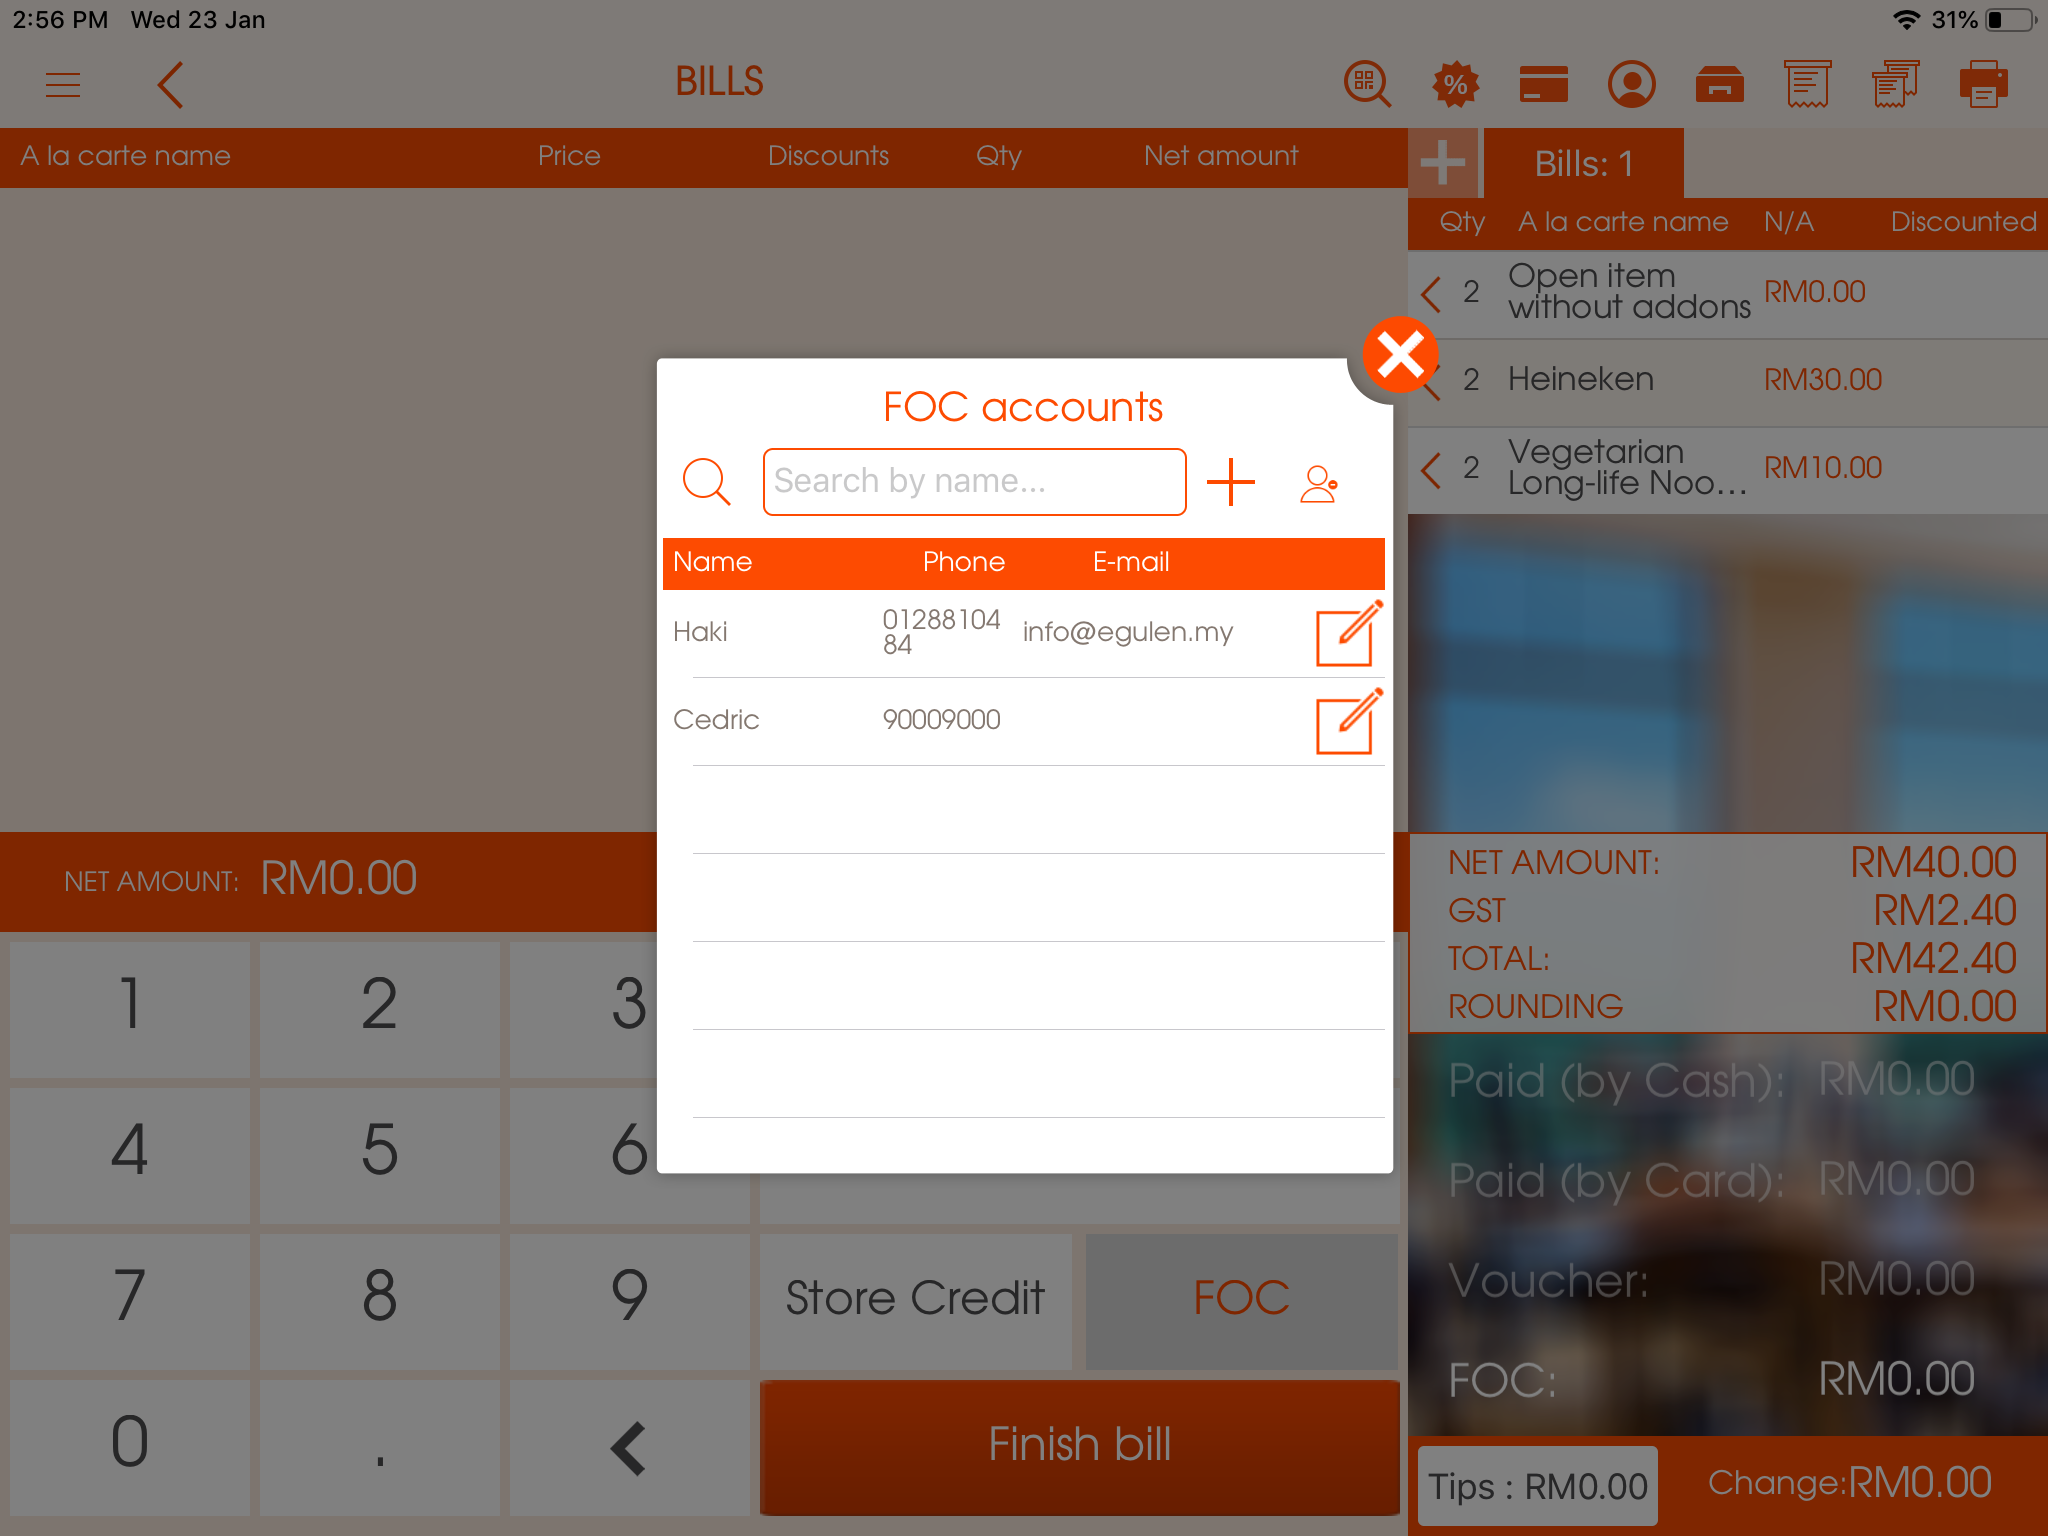
5. FOC: the amount of payment that is "Free of Charge" (FOC account needs to be created beforehand)
To add FOC account:
-Press on FOC on the left side of the screen
-Click on the + icon to add FOC account
-Fill in the required fields
-Click "Save" and a new member will be created
Picture - (12)
6. Finish bill- once you choose the form of payment and enter the amount that was paid you can click on the "Finish Bill" and print the receipt.
Once the bill is finished the table icon will turn yellow on the table layout. The icon will turn white when you tap on the icon. (after the table was cleared and set for new customers)